Fat Hal’s MFB Post:
Winter brings its own unique challenges to staying hydrated, the biggest of which is keeping your water from freezing solid before your ride is complete. I guess vodka would not have the freezing issues that water has but I believe that it would compromise performance in the long run (maybe not so long run if you are very thirsty). Any ways, here is my first attempt at devising a system that allows me to get a constant flow of water during colder rides.
This system is employed by many others, it depends on having the hydration pack inside your jacket and next to your body, using the heat from your body to keep the water from freezing.
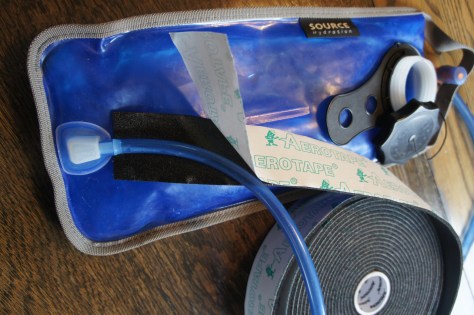
Equipment used:
- old MEC hydration pack
- Aerotape (foam backed tape)
- 5/8″Aerocel (used for air conditioning)
- Duct tape
- Blue foam pad used for backpacking
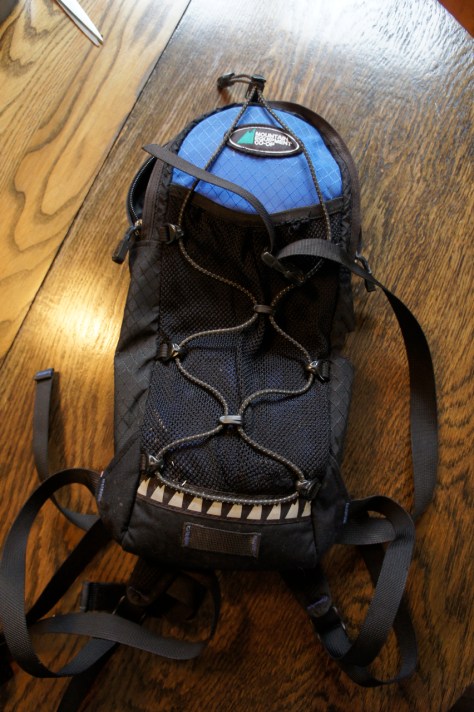
The first thing I did was turn the hydration pack inside out.

Then I cut out the foam backing that sits on your back. The theory here is I wanted to have as much as the heat as possible transfer from my back to the water bladder to keep the water warm.

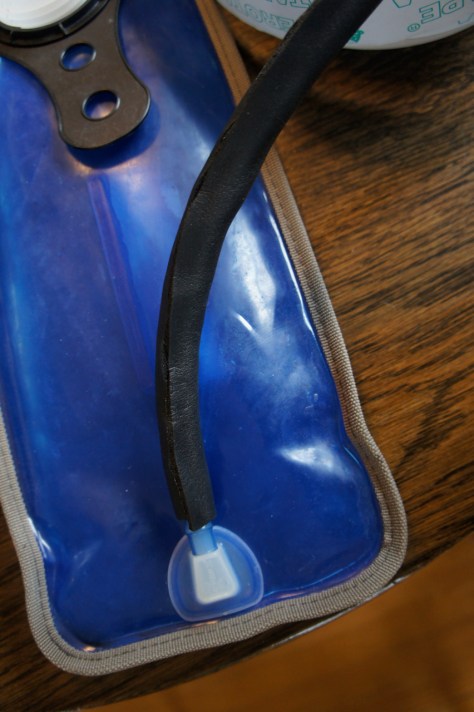
I then turned the pack back the right way out and cut a hole in the right side of the pack, about the middle of the pack, this is where the hose will come out of the pack. This will allow the hose to rest on your rib cage, about mid-section around the elbow area. This should be a warm enough area to help keep the water from freezing.

Next, I cut out a piece of blue foam the width of the bladder and 1 and 1/3 its length, I folded the foam back and made a pocket for the bladder to sit in using duct tape.
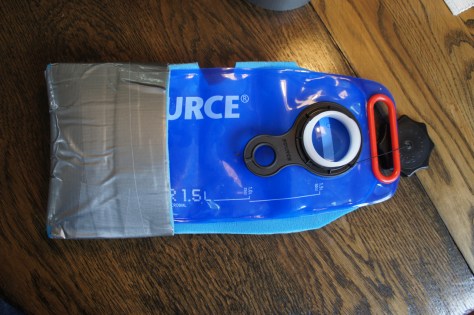
The foam will act as additional insulation, it is on the outer side of the pocket when inserted in the pack (the bladder pictured here should be facing the other way).
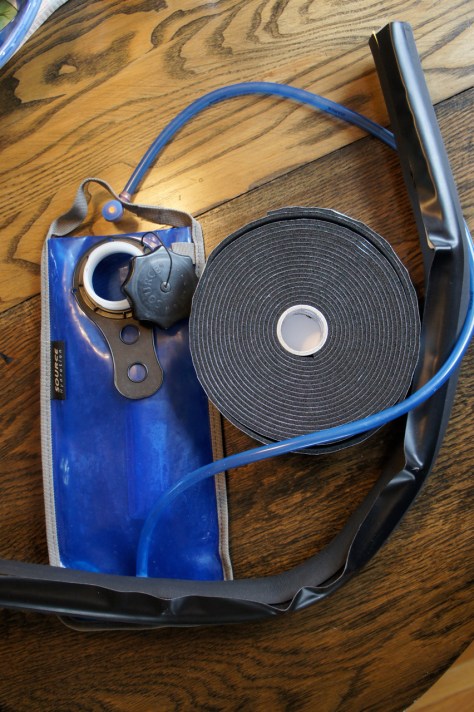
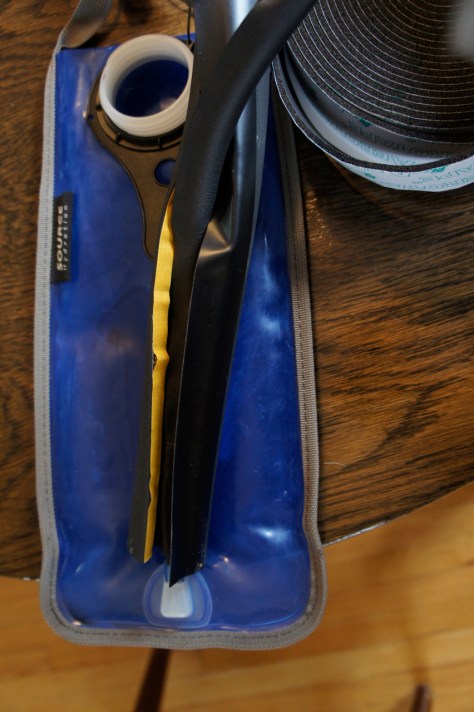
The next step is to insulate the hose; for this I used the Aerotape and Aerocel (this is an older bladder and hose that I used to show these steps because I already competed the construction on the new bladder I purchased for this project; the nice and necessary thing about the new bladders is they have a quick connect allowing you to easily take the hose off the bladder).
First, I applied the Aerotape. You need to be careful doing this as it is very sticky and does not come off very easy.
The Aerotape makes a nice insulated first layer.
Next I fitted the Aerocel over the hose. The Aerocel is very nice as it has two tapes: one for adhering the two edges and a second tape that seals the seam.

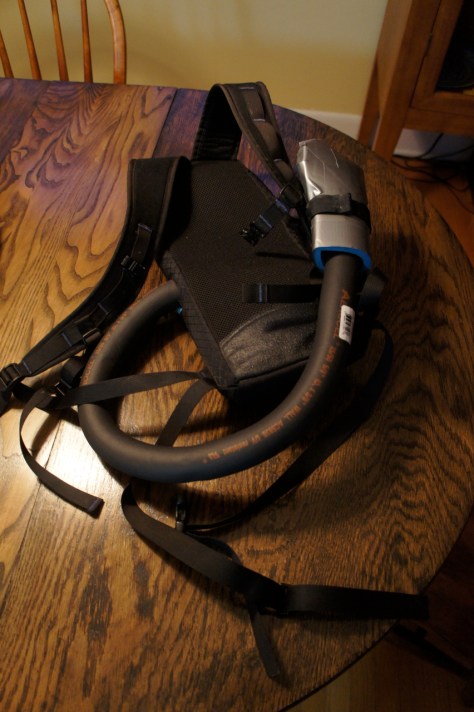
Here is the competed hose and the sock I made with blue foam to go over the bite valve.
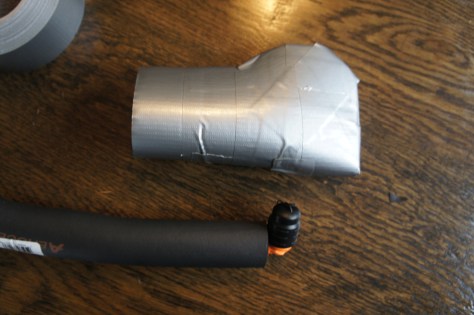
The sock serves two functions: to keep some of the cold away from the bite valve, the biggest problem area for freezing in this type of hydration system; and two, to help hold the hose in place.

Here is how the sock works. I had a velcro strap that I used to secure the sock to the pack’s harness. The hose pulls out easily and stayed in place when I used it for a 5 hour ride with other day, I will be adding some velcro straps to make sure it stays in place for the Arrowhead race providing this contraption works as I test it out over the next two and half months.
During the ride the water actually warmed up (I started with room temperature water) so I am optimistic.
For this system to work I believe that you need to wear a layer that is tight enough keep the hose close to your body and wind proof in front to keep the cold out.

I still blew the bite valve clear after every drink to make sure that it did not freeze up, it would not have on ride we did during its inaugural test run as it was too warm but it is a good habit to get into. I am going to eventually do a test run once it is cold enough to see if will freeze up if I would forget to clear the bite valve and hose of water, I will report back as I continue to test this system. If anyone wants to try this I have plenty additional Aerotape and enough Aerocel to construct another hose, you would just need to buy some blue foam.
